Hello! Today I am sharing my gallery wall to do list. It’s a pretty short list, but I can’t wait to finish so I am super motivated to get every item checked off quickly! Here’s how I proceeded with our gallery wall and a few tips to help you with yours.
I have wanted a gallery wall for quite some time. I almost put in one in our old home in the stairwell, but we decided to buy a new house right when I had planned on it. So… I waited. We have a wall in our living room that was just perfect for a gallery wall. The concept of my gallery wall is beachy/casual/bright. I really didn’t want a gallery wall the was completely symmetrical (although Kevin and I are both generally symmetrical type of people), I really wanted something fun, unique and ultra casual. So, let me show you how the progress has gone so far…
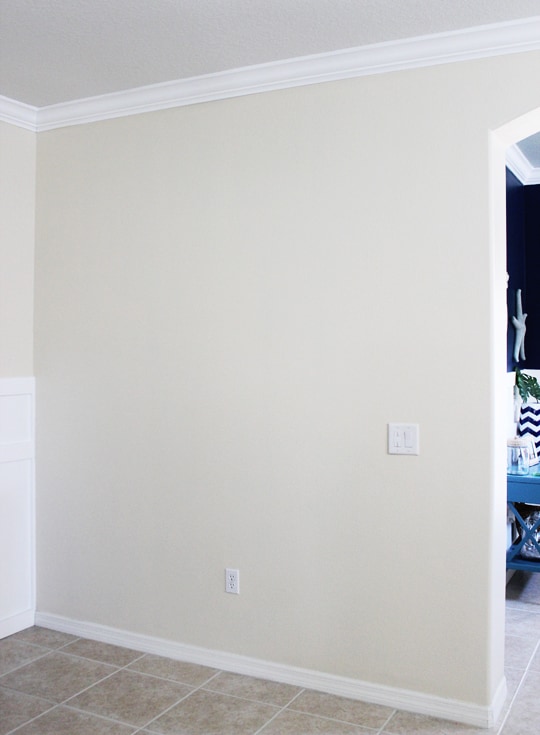
Here’s the blank wall in our living room that was just crying to have a gallery hung on it! (The lighting was way off the day I took this picture… sorry about that).
I bought several frames on clearance at Marshall’s while we were packing up our old home. I also had several other frames and decorative items to add to the mix. The only thing I needed to add/purchase was some art and graphic prints and print out a few pictures of us. I am well on my way to creating an amazing gallery wall. I thought I would show you how I started…
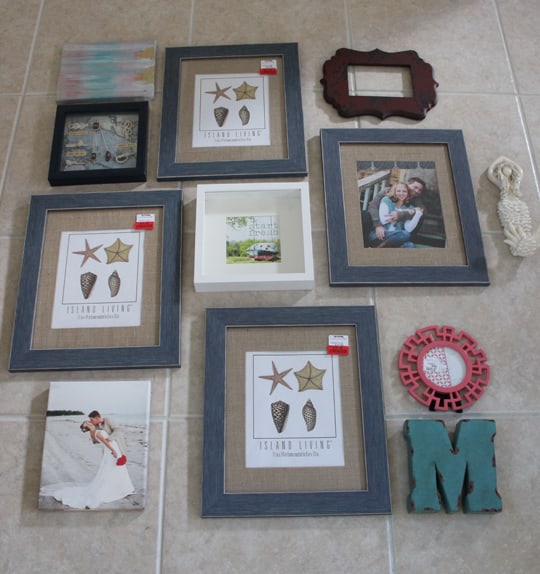
First, I placed some of the pictures and items I wanted included on the floor to arrange them the way I felt best. I didn’t include every single items because I wanted to be able to add a few items after I hung the majority. I also wanted to leave space around the wall for items I collect on vacations etc. So here’s what I came up with to start…
The top right open frame is getting a little diy treatment. I really like the idea that I can change frames or add pieces during the year so it never feels stagnant. After I placed it on the floor and arranged it in the way that was ideal for the wall, I created stencils out of every single piece. I just grabbed up our roll of brown kraft paper and got to it…
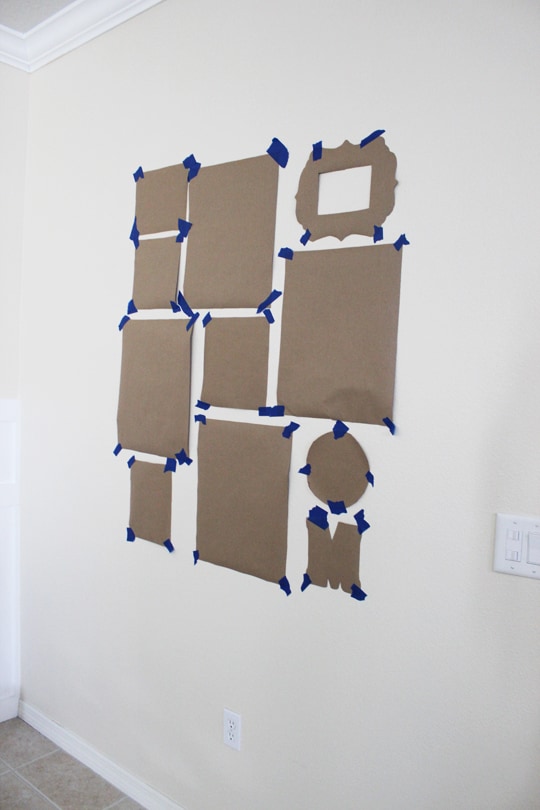
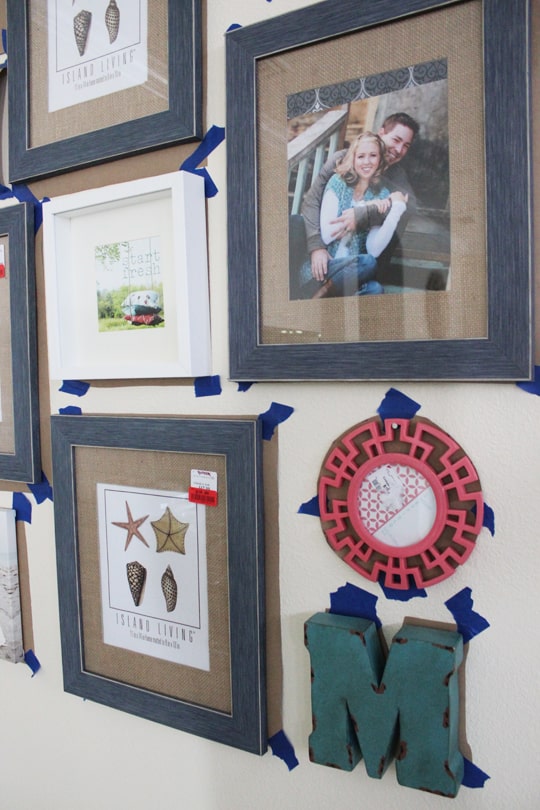
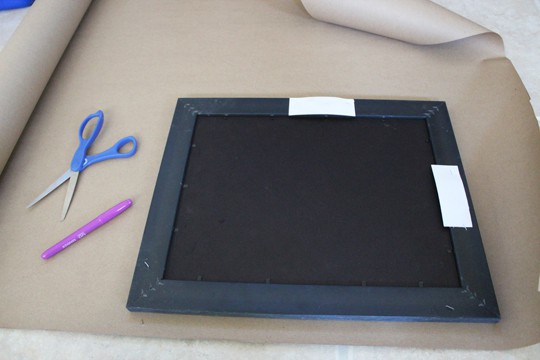 That step was pretty time consuming but so worth it. Once all the pieces were cut out, I place them on the floor on top of each piece in the arrangement. From there I measured the center of the wall and then the center of the arrangement. I just went piece by piece taping until I had the entire arrangement tape to the wall.
You may have to adjust things here and there to make sure they all line up. Once everything was taped on the wall, I measured where the hanging hardware was on the back of each item and then hung them right on the brown paper. Here’s a very early sneak peek of my progress…
My Gallery Wall To Do List…
1. Find a painting with either a mermaid or ocean type of scene.
2. Find a graphic print.
3. Print off some family photos
4. Hang the add-on pieces to the mix
Once all of those items are complete, I will show you the finale. It’s getting there… I am really excited about the progress and I can’t wait to finish. What about you… are any of you in the midst of a gallery wall? Do share…
Leave a Reply