In the spirit of this fabulous season, I wanted to take a few hours and DIY Christmas Ornaments. I had a few ideas I couldn’t get out of my head, so I thought I would try my hand at DIY’ing a few to see how they would come out! Boy was I pleasantly surprised!!
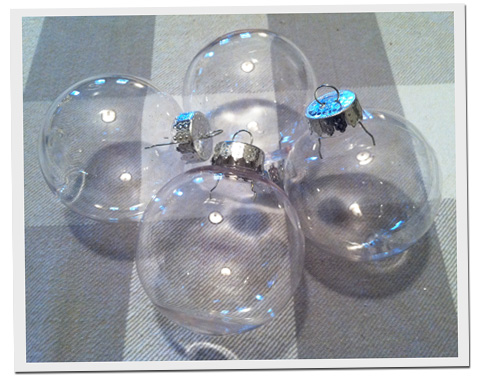
I grabbed up a few clear plastic ornaments from Michael’s Craft store, they are regularly .99 cents apiece, but I snatched them on sale for .30 cents each. Love that! The rest of my supplies I already had (glitter, glue, a felt snowflake and paint). These are all easy to do & they make great crafts for children as well. Add them to your tree, tie them on a present or place them on a tray for a festive touch!!
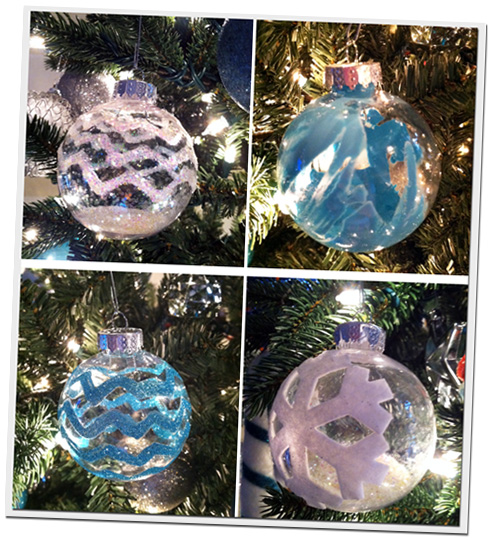
I created four different ornament designs. Each design was really easy & came out very pretty I must say!
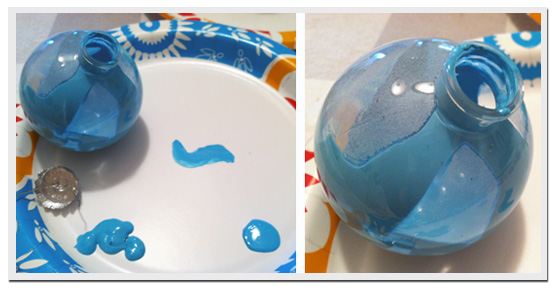
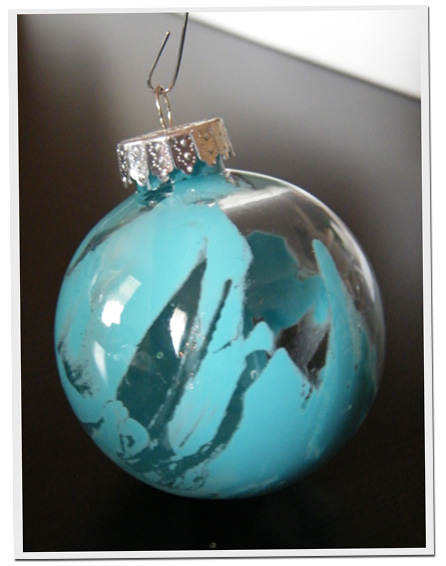
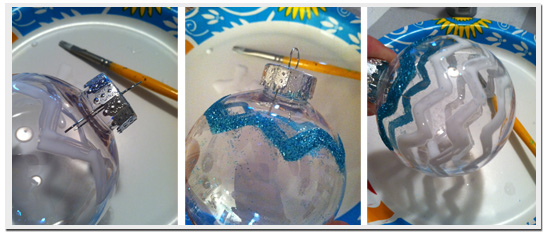
The first ornament was an experiment… and it worked! I had seen these painted ornaments on Pinterest one day and it gave me an idea! Instead of painting the outside of ornaments (which are pretty), I thought it might be fun to drop some paint inside of an ornament & swirl it around, then let it dry. In order for it to swirl, I had to head up the paint! I filled up a cup of SUPER HOT water and put the paint tube inside for a few minutes. The paint got warm enough that the texture became less “thick” and more watery, which made the dripping part easier!
I let this ornament dry on the paperplate for the rest of the night. The steam that formed inside was because the paint was a bit warm… it went away & didn’t cause any issues! I only added a turquoise color, but it would look great with two colors also! The way to do that would be add a color, then let it dry a bit and then add the new color, this way they don’t mix and create a new color! Here’s what mine looked like…
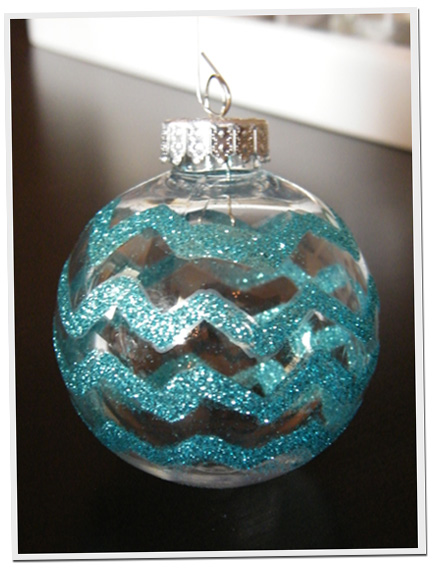
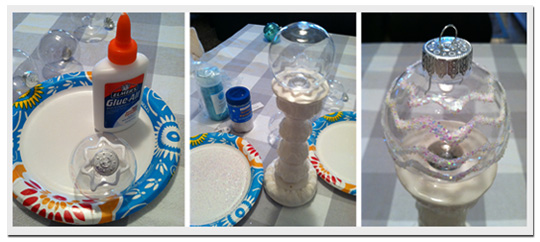
The second ornament took a little longer to complete, but it was well worth the extra time! I poured some good ol’ Elmer’s Glue All & took an old (tiny) paint brush and painted striped zig zags, working my way around the entire ornament. Once I painted each zig zag, I sprinkled the glitter on!
I let it in dry in a candle holder (upside down with the top inside the holder) for a few hours. When it was all dry… it looked like this…
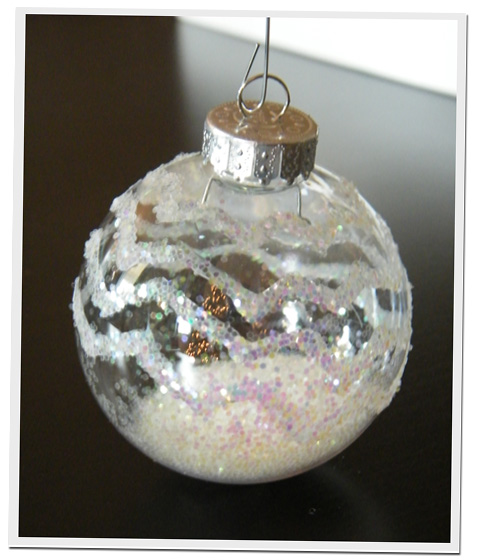
![]() Since the chevron idea worked out so well, I decided to do one in white too! This time I added the zig zags and included glitter inside as well! Instead of painting the glue on with a brush, I went for a thicker look and free handed it with the glue!
Since the chevron idea worked out so well, I decided to do one in white too! This time I added the zig zags and included glitter inside as well! Instead of painting the glue on with a brush, I went for a thicker look and free handed it with the glue!
I let this dry in upside down in a candle holder too! When it was all dry, I fell in love with it!
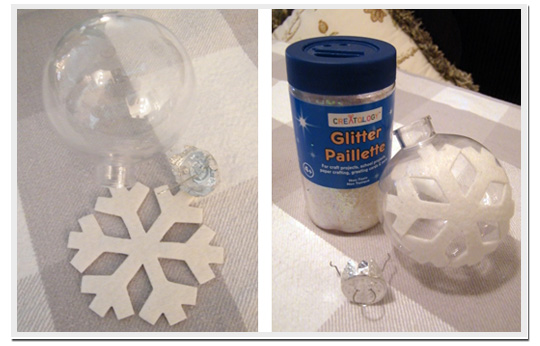
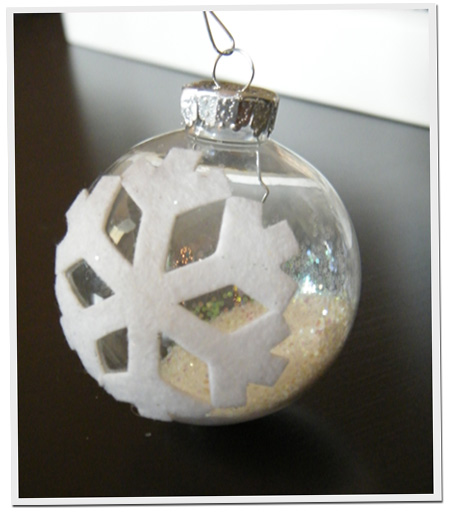
 The next ornament I DIY’ed was a snowflake one. This one was SUPER quick & easy! I had a felt snowflake sticker on hand… so I stuck that on & poured some glitter inside. Easy?!!
This one had “0” dry time so it was done immediately! Who doesn’t love that?!! Here’s the final product…
Now they all sit sparkling on our tree! They just might be my favorite holiday addition this year!! I adore them…
What do you think?? Have you created any fun DIY Christmas Ornaments this year? DO TELL. Oh, and if you are looking for a few extra ornaments… we are having a facebook giveaway… check it out! Also, it’s the last day to sign up for the Royal Design Studio Giveaway!!




These are so cute. I’ve made many homemade ornaments but have been looking for some new ideas! These are perfect! Thank you for sharing! They are beautiful!
Warmest Regards,
Annamaria