I am excited about this week @ A Design Story; I have some fabulous guest hosts lined up for you. Are you ready to get inspired by some other really great bloggers? Well… it all starts today! … And while they are graciously taking the reigns hosting, you are all invited so I hope you’ll swing by all week long!
Please welcome my friend Chrissy, from Home. We “met” awhile back on this lovely journey we call blogging. We quickly hit it off and you’ll know why… she is fabulous, inspiring and so sweet!
~ So without further ado, please welcome Chrissy…

Hello to all the “A Design Story” readers! I’m Chrissy from the blog Home.Kids.Life. and I’m delighted to be guest posting here today. I’ll tell you just a wee bit about myself before I begin. I’ve been married to my wonderful husband for 12 years and we have a 5-year-old son and a 3-year-old daughter. I’m a former junior high science teacher and currently a stay-at-home mom. I’m a Midwestern girl that was transplanted into the Southwest 4 years ago. I’m a use-what-you-have, gotta love it, and make it or get it cheap kind of gal. I’m a quiet girl, but once you put a keyboard in my hand I tend to go on and on. Shall we begin?

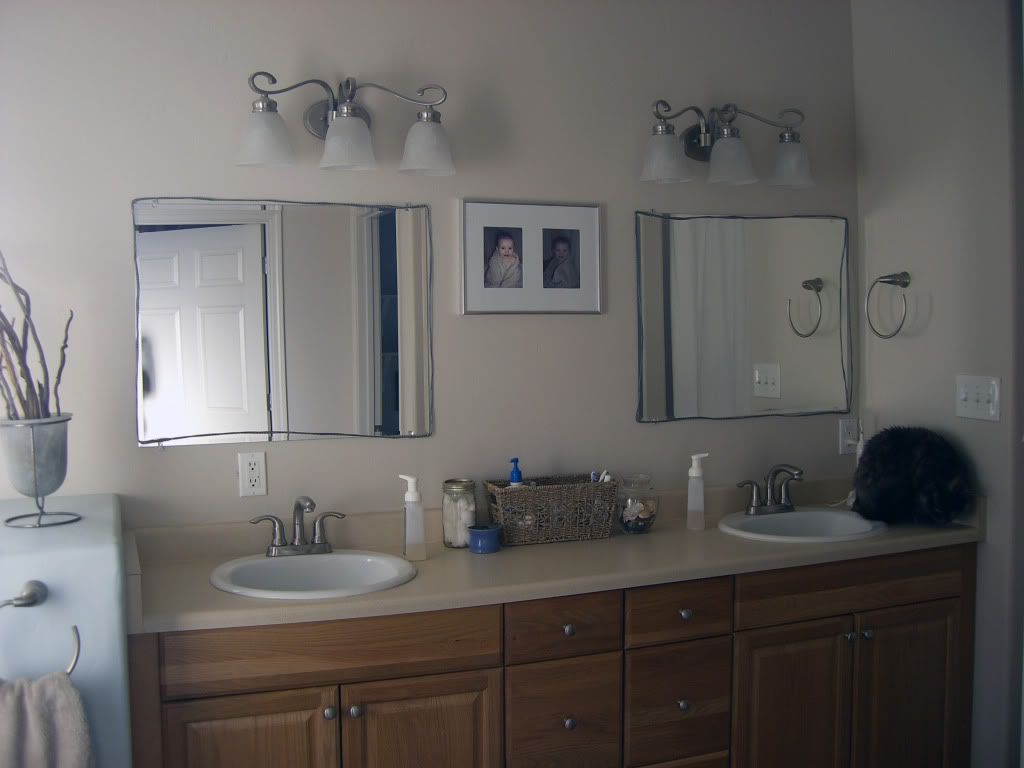
We bought our home new, but didn’t have it built. So we have many of the standard builder grade items that would come in a home that wasn’t designed by the owner. The lights and fixtures are from Costco. The tile, mirrors, cabinets, countertop, sinks, and toilet were from Home Depot. The bathroom was devoid of all personality and even a door when we bought the house. Plain, beige, boring, and still wonderful at the same time. Using a few thrifty ideas, some happy thoughts, and things that brought me joy, I started putting together a bathroom with personality. A bathroom that says “My Own!”

Use a Photo As Inspiration
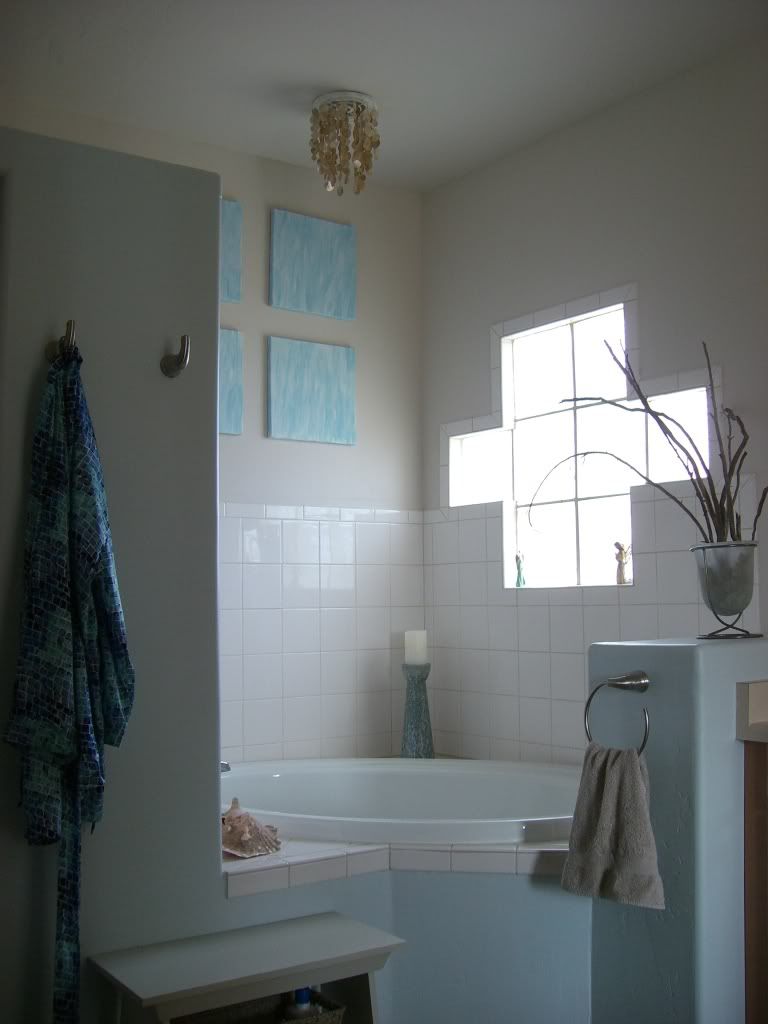
I chose a photo of a place at Lake Superior that my husband and I visited frequently when we lived in the Midwest. Having moved to the Southwest, I missed water and wanted my bathroom to be a place that reminded me of the lakes and water. I blew up the photo, framed it, and hung it over my bathtub. The rest of the room followed the colors and theme of this picture. Blues, whites, tans, and aged wood led to a beachy theme.

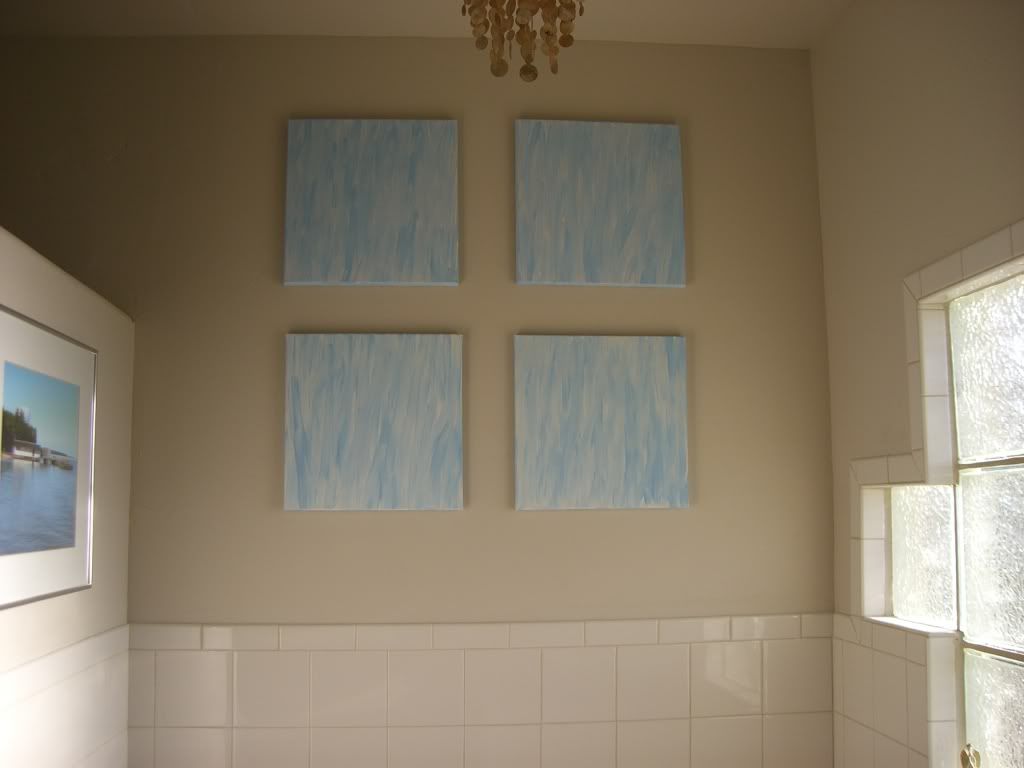
Paint is a Great Way to Add Color for Cheap
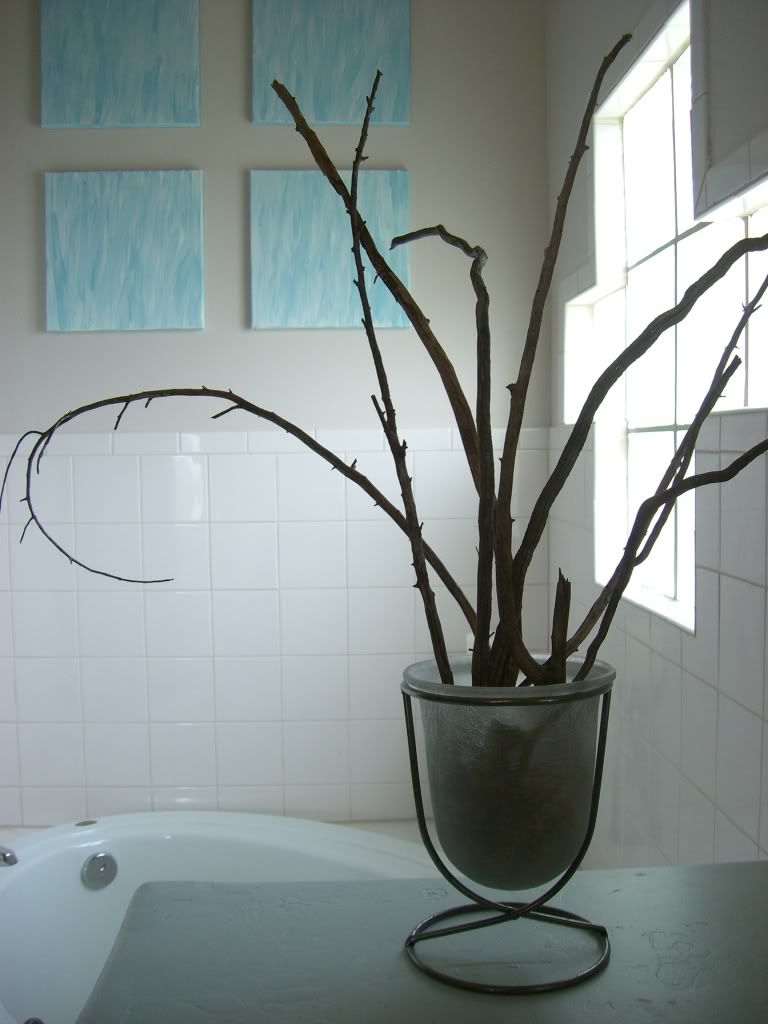
Having hung a photo on one wall above my tub, the other wall was calling out for some artwork. Using four discounted square canvases, small bottles of blue and white acrylic paint, and a paint brush, I made some DIY artwork.
In addition I used a free quart of blue paint, mixed it 50/50 with leftover wall paint and got a custom color that I painted on the wall surrounding the tub and shower. I also used it in the toilet room to add some color to the walls. We usually feel bad about painting new walls, but since the paint was free…I didn’t feel bad at all!
Personalize with Artful Memories
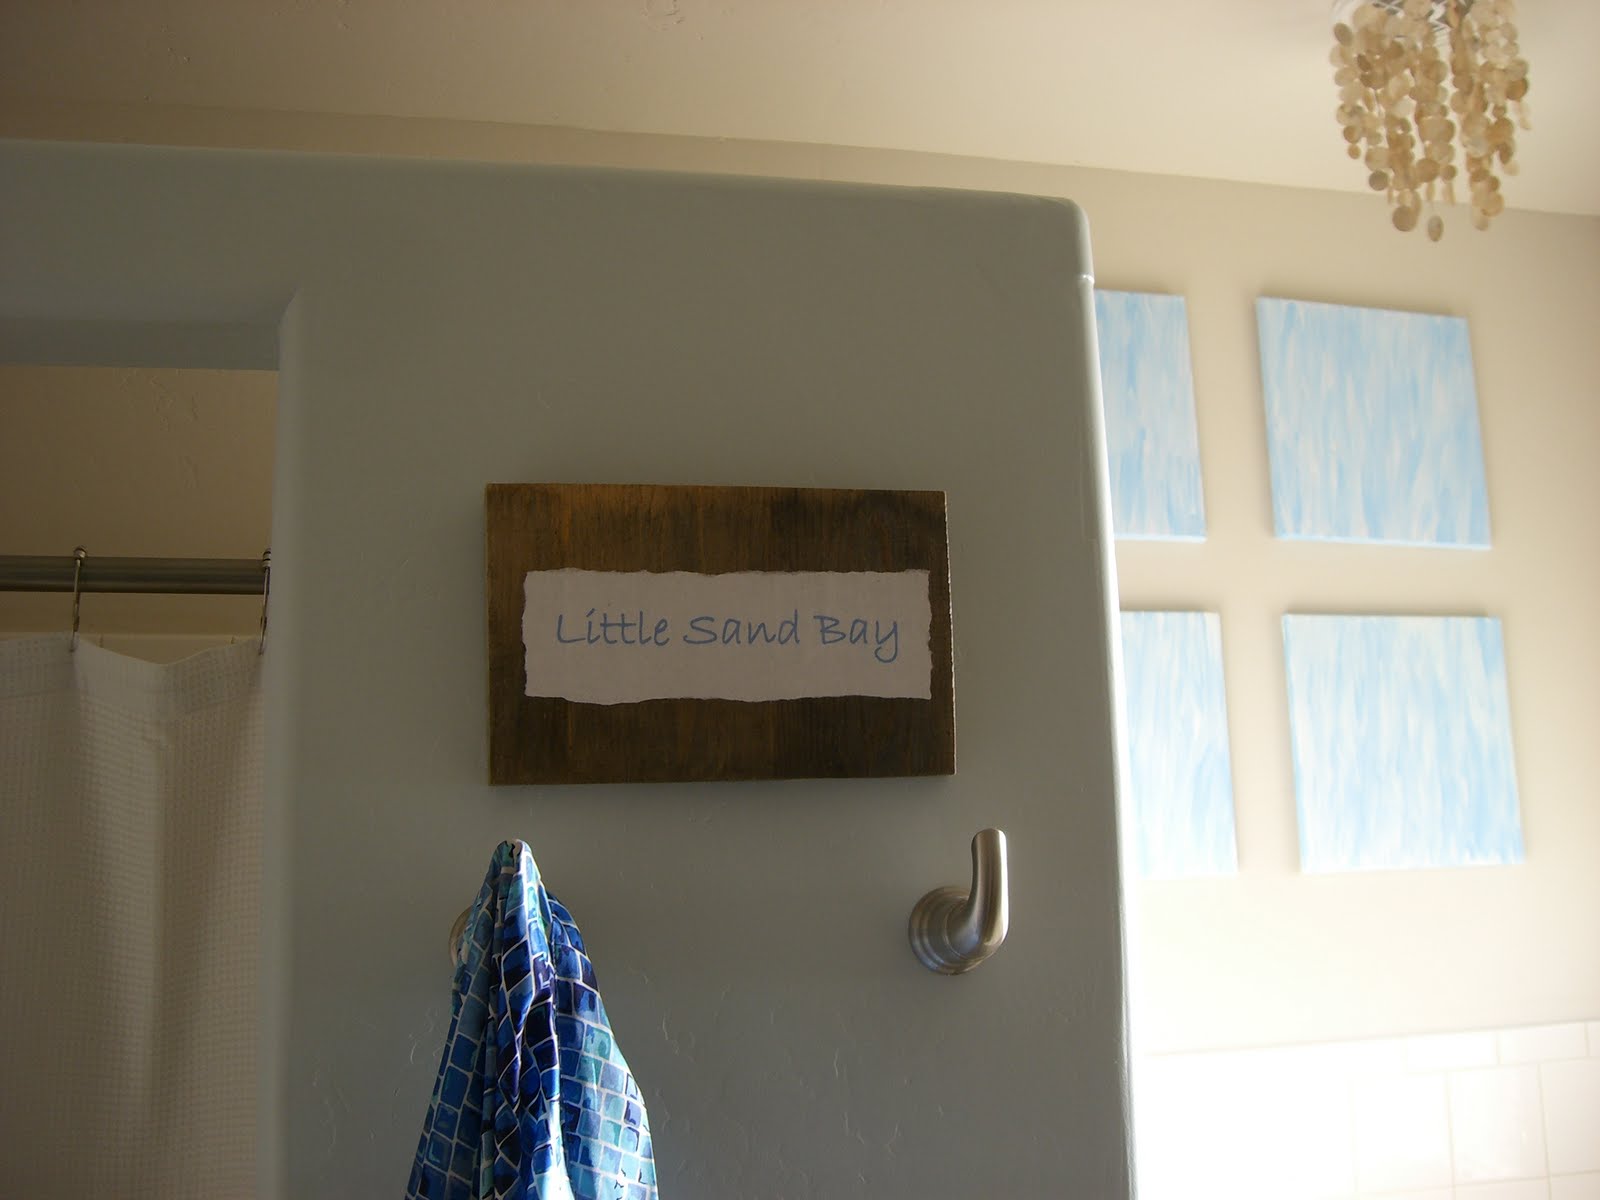
Are you getting the feeling that I’m a DIY kinda gal? I have many failures, but sometimes I make things that I’m really happy with. Such is the case with the wooden artwork I made for our bathroom. A little Mod Podge, aged wooden boards, and some computer printed words that have memories behind them created some additional personalized artwork. The words on both boards go along with the inspiration photo. Sometimes I can keep with a theme!

Use Nature to Decorate
Using nature is free! You can’t get more thrifty than that! I’ve got a vase full of sticks from my yard and another vase full of shells and rocks that my husband and I collected on trips. Now that is easy decorating!
Repurpose Things
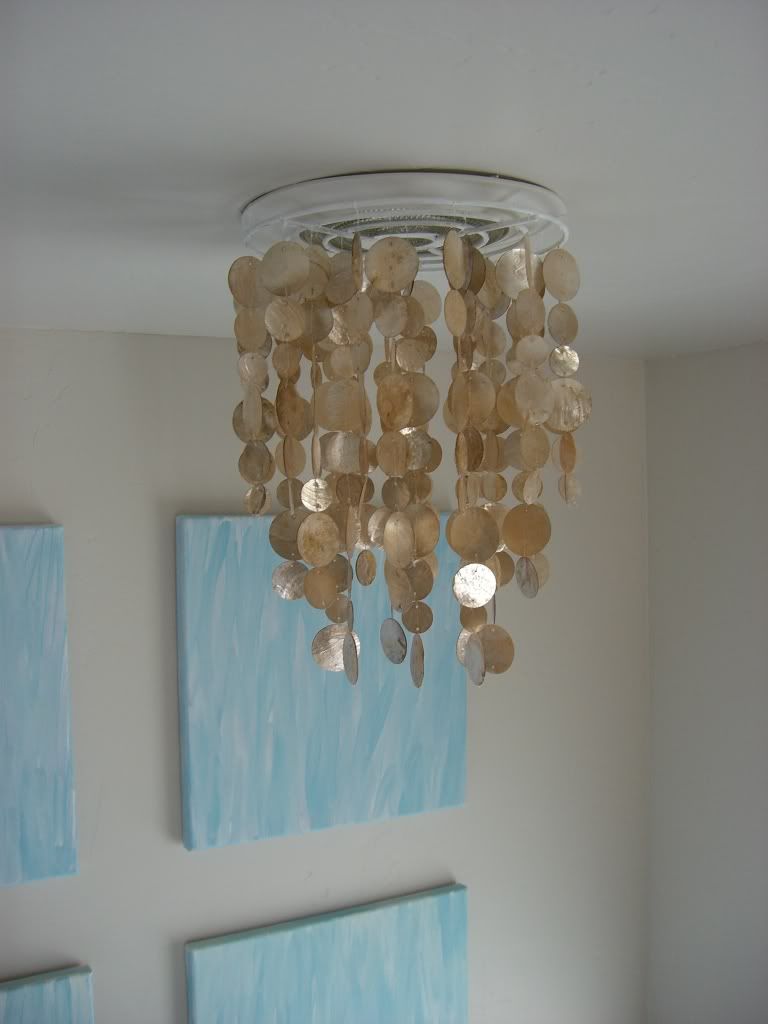
I dreamed of a capiz chandelier over my bathtub. I mean, shells were the perfect accessory to my beachy bathroom theme. The only problem was that I couldn’t find one within my $20 budget. I found a $19.99 capiz lampshade that was the same size as my recessed light. I painted the rings of the lampshade white and using some white thread I was able to attach the capiz lampshade to the recessed light. Instant capiz decor on the cheap!
Find Storage that Works for You
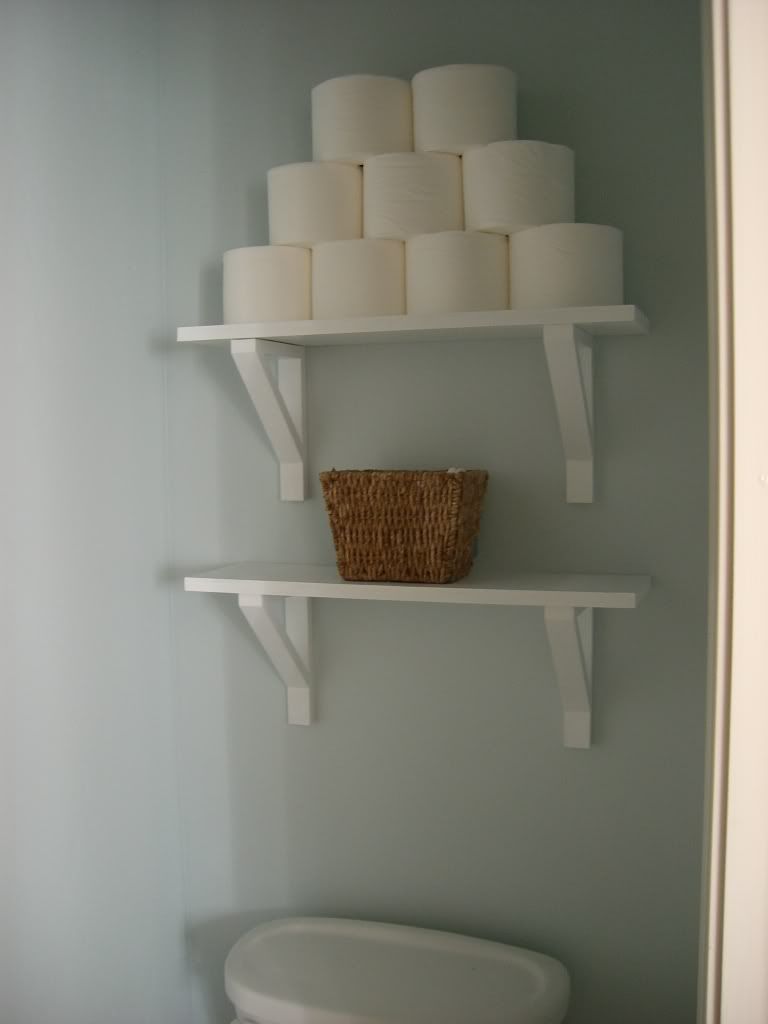
I designed and had my husband help me build some simple wooden shelves that I painted white. I needed a place to store toilet paper and other necessities that come in handy in a toilet room. Sea grass baskets from Wal-Mart are my thrifty storage holders. I also use canning jars on the counter to hold daily use items, not to mention a clay bowl I made in the seventh grade that neatly stores jewelry I take on and off.

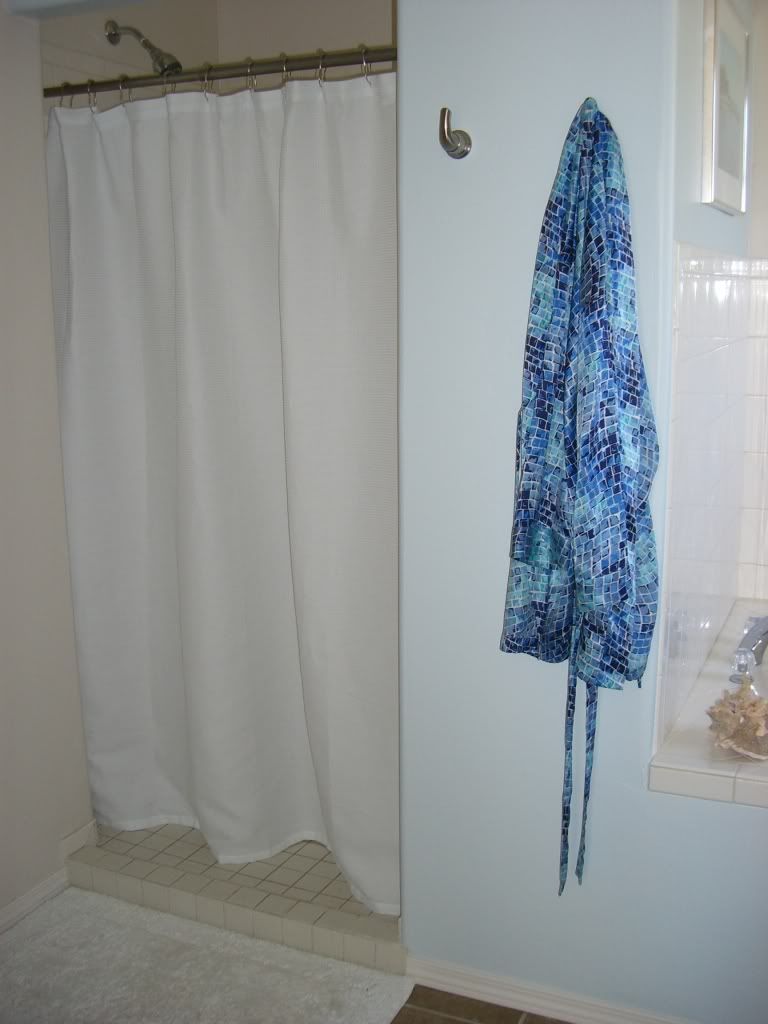
Fabric is an Easy Upgrade
A shower curtain in the bathroom is an easy way to change the look. I’m simple. I kept it easy with a white waffle weave shower curtain from Wal-Mart. The shower was made to not have a curtain, but whoa….that was a little cold and a little unnerving, especially since our bathroom didn’t have a door when we moved in.
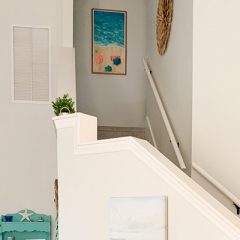
Blogland is Great for Ideas
Yep, visit some blogs to get ideas. That’s where I got the idea to do a drop cloth drape for a door on my bathroom. There are ideas galore floating around on the world wide web, you just have to weed through them.
.JPG)
Plus, you can’t go wrong with visiting Lindsay here. I love her practical and stylish ideas. I need someone like her to guide me since my design sense is minuscule. Lindsay’s beautiful beachy home is a great source of inspiration for me. Plus, I just like Lindsay….she’s genuine. And I’m honored to have been a guest here at “A Design Story”. Thanks so much for joining me on a journey through my master bathroom. I hope you go out, make the most of what you’ve got, and just enjoy it!
All Images are Courtesy of Home.Kids.Life.
Wasn’t Chrissy’s bathroom B-e-a-utiful? Well done!! I love when someone can achieve great design on a budget! Thank you so much for sharing a piece of your home with us! Learning to love and use what you got… great lesson! What about you? Have you decorated your home on a budget that made you think outside the box? DO TELL. Don’t forget to pop over and follow Chrissy @ Home.Kids.Life for more fun ideas!!


Thank you for letting me be a guest poster and for the kind words! I’m thrilled and honored to have been here on your fabulous site!
You did a Great Job on your bathroom. Thanks for sharing your idea’s! I love the beach and I enjoyed many things you did with the blue color and the shells.
Well thanks again…