One of the first things on our to-do list upon closing on our house was to paint the garage floor. I thought I would share our ‘how to’ guide on painting garage floors!!
We really wanted to paint the garage prior to bringing in boxes and moving in. There was no way we were going to put everything inside the garage and haul it back out to paint it! We really tried hard to be logical with our to-do list. Our garage floor was already painted but was in pretty bad shape as far as stains and grease goes. It wasn’t chipping or cracking much, so we were able to do little prep work in order to get this bad boy repainted and ready for our move in. So… if you have a similar situation, you can follow our easy steps. (If you have a different situation with cracks, chipping or have plain concrete that needs to be painted, you will need to do a bit more prep work like etching etc.) So… here’s our adventures in garage painting…
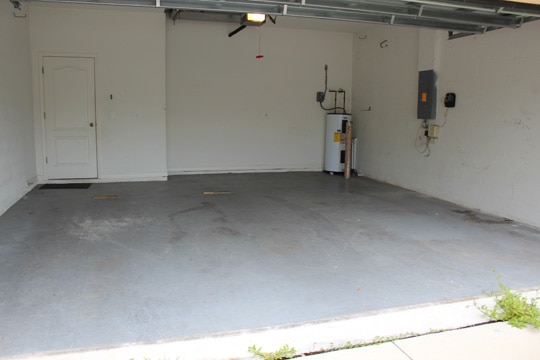
Here’s the lovely before. Check out those stains… yuck. At least we have plenty of space, right!?! Quite the change from our one car garage in our last home!
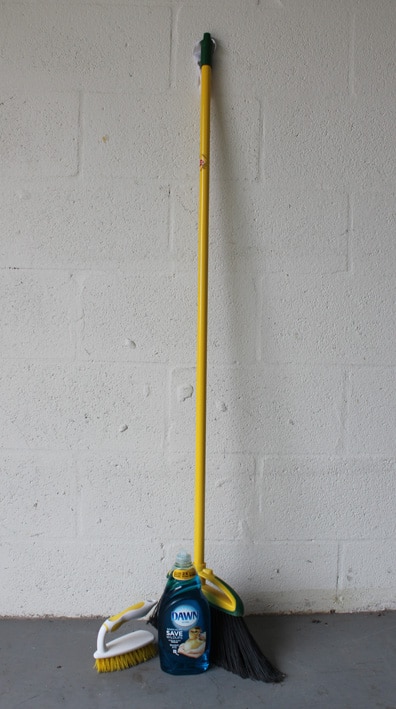
Like I said, our garage floor was previously painted, so the steps we took to repaint it weren’t so difficult or time consuming. We just swept it the floor out really good so there weren’t any dust or dirt particles lingering on the floor.
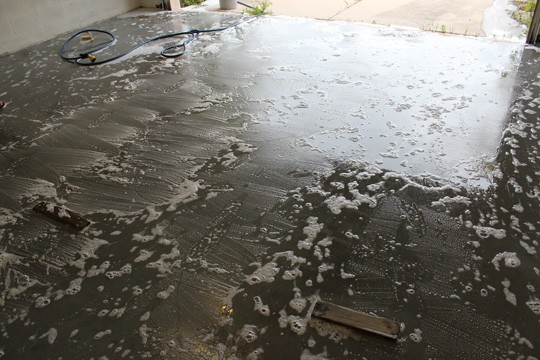
Next, we used some water, Dawn dish liquid (to degrease the stains), a brush and some major elbow grease. Kevin scrubbed the heck out of that floor and did a great job. One thing I had to laugh at was the fact that a little Dawn goes a long way… let’s just say he applied a nice, thick coat on the floor and had to wash it for a long time for it to come off! At least we know we could eat off the floor in the garage if the situation ever came. Kidding, kidding.
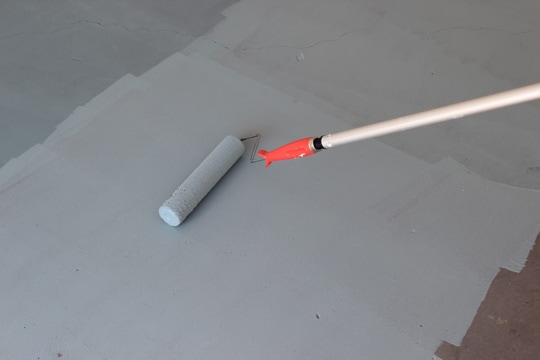
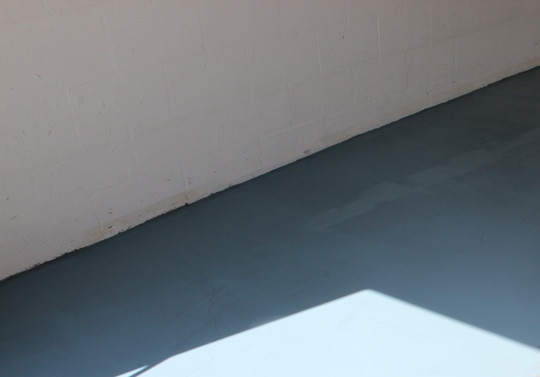
We let the floor dry overnight… we actually kept the garage door up just a it for air flow. Then, we started painting! We bought Behr Premium Concrete & Garage Floor Paint (it’s an epoxy based paint). As for colors, I didn’t want the typical gray, but I wanted to go a bit dark to hide stains or dirt. I picked Leisure Time PFC-53. It’s a perfect color!! To paint the floor, we first cut in around the perimeter. Next, we rolled the floor with a low profile roller (1/4″). We ended up painting two coats in total. By the way, I would recommend Behr’s product… it has great coverage!
We let it dry for 48 hours before we walked on it or moved anything in.
Once it was dry, it quickly became full of our stuff!! We are still unpacking and organizing, so as soon as it’s in working order, I will show you the garage in all it’s wonder! So that’s pretty much our adventures in garage floor painting. I hope it helps if you are in the same process!! Good luck. As for the rest, what projects are you knee deep in around your home? Share…

Love this idea and I think the new floors look amazing! You go girl!
So happy to have found you in blog land!
Happy, happy day!
karianne